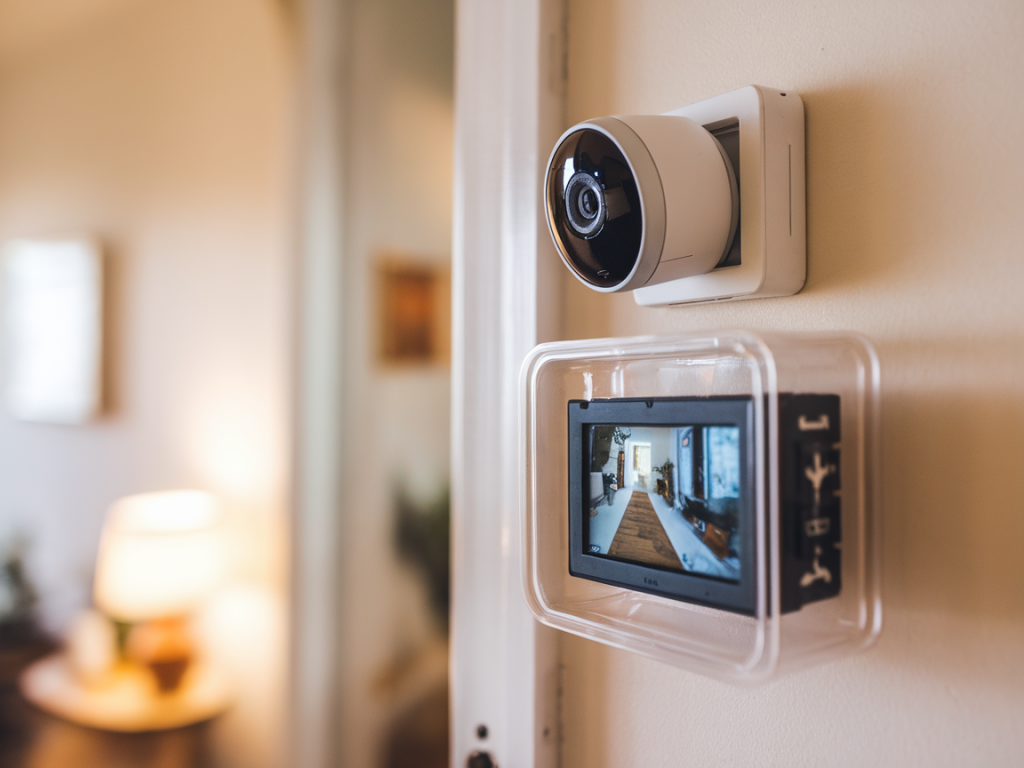
I wanted a doorbell that respected my privacy: livestream on demand, local recording I controlled, and no mandatory cloud subscription. What I ended up building is a privacy-first smart doorbell using a Raspberry Pi that serves an RTSP stream locally, records video to a local drive, and integrates with my home automation without sending footage off-site. Below I walk through the hardware I used, the software stack I recommend, step-by-step setup, and practical tips for secure access and reliability.
Why Raspberry Pi and RTSP for a privacy-first doorbell?
A Raspberry Pi gives you full control. It can host a camera, expose an RTSP stream for local viewing, and write video files to a local disk without any third-party servers involved. RTSP is a lightweight standard supported by most NVR software and apps (VLC, Home Assistant, Frigate, motionEye), so you get flexibility with integrations. Choosing local storage (an SSD or NAS) and running everything on-premises keeps your footage private.
What I used (hardware)
Here’s a concise parts list that worked reliably for me:
| Raspberry Pi 4 (4GB or 8GB) | USB 3.0 ports for external SSD, better CPU performance for encoding |
| Raspberry Pi Camera Module v3 (Sony IMX708) or USB 1080p webcam | Camera with decent low-light performance; IMX708 gives compact mount options |
| USB 3.0 NVMe enclosure + NVMe SSD or 2.5" SSD | Local, fast, reliable storage for recordings |
| Momentary doorbell button | Wired to a GPIO pin (or use a wireless button if preferred) |
| Power supply (official 5V 3A) | Stable power for Pi + camera |
| Optional: PoE HAT | Power over Ethernet simplifies outdoor installs |
Software stack I recommend
There are several ways to achieve RTSP and recording. I chose a lightweight, modular stack that keeps things local and auditable:
Step-by-step setup
These are the steps I ran through. I include commands and key configuration notes—adjust paths and usernames for your setup.
1. Flash Raspberry Pi OS and initial setup
Flash Raspberry Pi OS Lite using Raspberry Pi Imager. Boot the Pi, create a user, update the system:
sudo apt update && sudo apt upgrade -y
Enable SSH and, if using a Pi Camera, enable camera support in raspi-config:
sudo raspi-config → Interface Options → Camera → Enable
2. Attach camera and test
If you use the official camera, validate with libcamera:
libcamera-hello
For USB webcams, test with:
v4l2-ctl --list-devices
3. Install an RTSP server
I use rtsp-simple-server (now called rtsp-simple-server by aler9) because it's simple, fast, and supports TLS and basic auth.
Download and install the binary from the GitHub releases page, create a basic config.yml exposing a stream named /doorbell, and point it to the camera input. Example minimal config:
paths:
doorbell:
source: rtsp://localhost:8554/camera
To feed camera into the RTSP server, either use gstreamer to push the camera feed to the RTSP server or configure your RTSP server to read from a local RTSP source created by mjpg-streamer or libcamera-rtsp.
4. Configure local recording
Option A — simple periodic recording: use ffmpeg to record motion-triggered clips or continuous rolling files. Example command to record 60s clips:
ffmpeg -i rtsp://localhost:8554/doorbell -c copy -f segment -segment_time 60 -segment_format mp4 /mnt/ssd/doorbell-%Y%m%d-%H%M%S.mp4
Option B — use Frigate/motion for smarter recording: they handle motion detection, object detection, and retention policies, only saving clips when something happens.
5. Button integration (doorbell press)
I wired a momentary button between a GPIO pin and ground with an internal pull-up. Debounce in software and trigger recording or a snapshot on press. Example Python script (uses gpiozero):
from gpiozero import Button
import subprocess
btn = Button(17)
def on_press():
subprocess.run(['ffmpeg','-i','rtsp://localhost:8554/doorbell','-t','30','-c','copy','/mnt/ssd/visit-$(date +%s).mp4'])
btn.when_pressed = on_press
pause()
For a physical chime, add a relay module controlled by another GPIO pin and trigger a short pulse on button press.
6. Secure access and remote viewing
Privacy-first means not exposing live streams to the open internet. I use one of two approaches:
7. Encrypt local storage (optional, recommended)
If your SSD gets stolen you might want the recordings encrypted. I use LUKS to encrypt the drive:
sudo cryptsetup luksFormat /dev/sda1
sudo cryptsetup open /dev/sda1 doorbell_ssd
mkfs.ext4 /dev/mapper/doorbell_ssd
mount /dev/mapper/doorbell_ssd /mnt/ssd
Be aware: automounting an encrypted drive on boot requires a secure key location or manual unlock. I keep the Pi in a secure place and use a passphrase entered at maintenance time.
8. Retention and housekeeping
Local storage fills up. Set retention policies and automatic deletion. I use a cron job that removes files older than X days:
find /mnt/ssd -type f -name '*.mp4' -mtime +14 -delete
If you use Frigate, configure its recorder section to control retention per camera and minimum free space behaviour.
Integration with Home Assistant and notifications
I hooked the stream and button into Home Assistant via an RTSP camera entry and MQTT for button events. When the button is pressed I get a push notification with a snapshot and a link to stream the live RTSP via VLC or the HA UI. Motion events from Frigate also generate alerts and thumbnails locally, so I don’t rely on cloud services for notifications.
Practical tips and pitfalls I learned
Building a privacy-first doorbell took an afternoon of assembly and a weekend of tuning for reliability, but the result is full local control: live viewing over my private network, event-based recording, secure remote access via VPN, and no cloud subscriptions. If you want, I can share my exact rtsp-simple-server config, Frigate recorder settings, or the full GPIO button script—tell me which one you want and I’ll paste it.