I wanted a private, low-cost way to store footage from my smart home cameras without paying for cloud subscriptions or trusting a third-party service. What I ended up building is a simple local backup server using a Raspberry Pi and inexpensive microSD storage — enough for short retention windows, event clips, and a safety net when the cloud is down. In this guide I’ll walk you through the hardware choices, software stack, installation steps, and practical tips I’ve learned while running this setup at home.
Why a local backup for smart home cameras?
Cloud services are convenient, but they come with recurring costs, privacy trade-offs, and dependence on internet connectivity. A local backup gives you:
- Privacy: footage stays under your control.
- Lower cost: one-off hardware cost vs monthly fees.
- Resilience: cameras can continue to record locally if internet or cloud service is interrupted.
- Flexibility: you can choose retention policies and export clips whenever you want.
What this guide covers and what it doesn’t
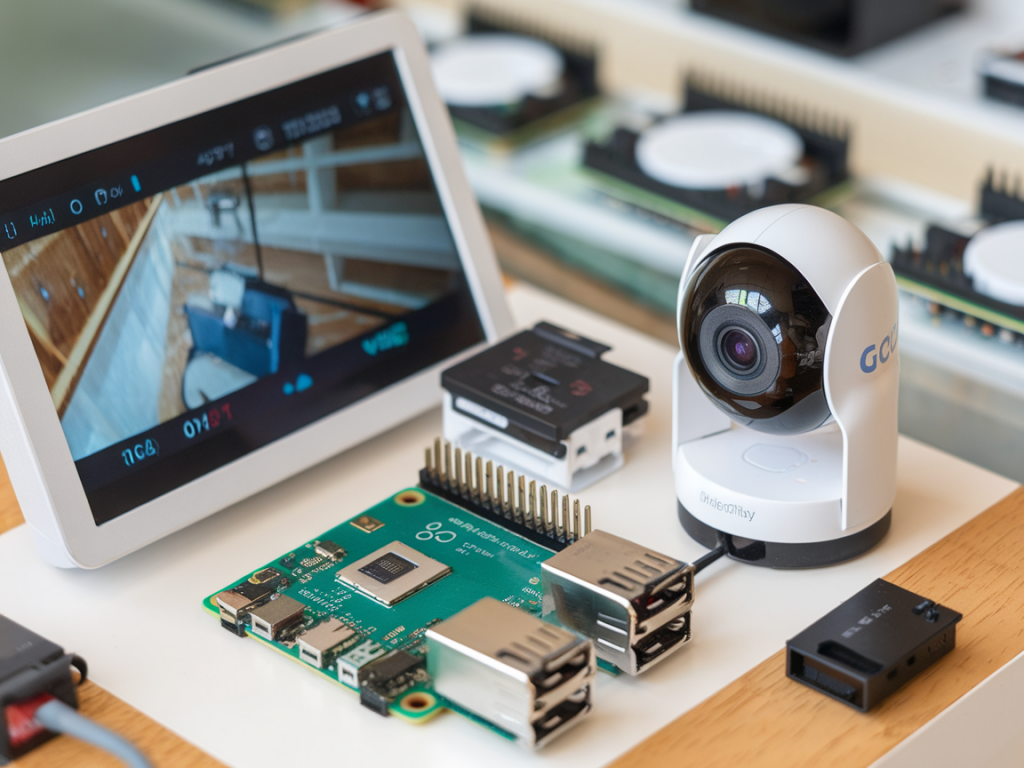
I’ll show a lightweight, practical build that uses a Raspberry Pi (4 or 5 recommended) and a high-quality microSD card as the primary storage. This works well for event-based recording (motion, person detection) and short retention windows (days to a few weeks). If you need long-term 24/7 continuous recording or enterprise-grade reliability, consider adding a USB SSD or NAS — I’ll explain how to upgrade at the end.
Parts you’ll need
- Raspberry Pi 4 (2GB or 4GB) or Raspberry Pi 5 — I use a Pi 4 for cost-effectiveness.
- Quality microSD card (endurance type recommended, 64–256 GB). Brands I trust: Samsung EVO Select, SanDisk High Endurance, Kingston Endurance.
- Official Pi power supply (stable power matters).
- Case with active cooling (optional but helps SD longevity).
- Network connection (Ethernet preferred for stability; Wi‑Fi is OK for a few cameras).
- Cameras that expose an RTSP/HLS stream or integrate with ONVIF.
Why use an “endurance” microSD and how to protect it
Cheap microSD cards wear out quickly when used for constant writes. Endurance cards are designed for continuous video writes (dashcams, surveillance) and have better firmware and wear leveling. Still, microSD cards are not as durable as SSDs — so plan for rotation, backups, and log minimization.
- Buy an “endurance” labeled card from reputable brands.
- Avoid heavy database writes on the SD — use tmpfs/log2ram for logs and temporary files.
- Set conservative recording retention and clip sizes to limit writes.
Choosing the software stack
There are several approaches; I recommend a container-based setup on Raspberry Pi OS Lite using Docker. Two reliable, actively maintained options for camera recording are:
- Frigate NVR (Docker): great for person detection via Coral USB accelerators, efficient H.264/HEVC handling, integrations with Home Assistant.
- Motion (motioneye or MotionEye-FrontEnd): simpler, lower resource footprint, easy event-based recording.
For this guide I’ll outline a MotionEye setup since it’s lean and works well with SD-based storage. If you want object detection and higher reliability, swap in Frigate and follow their docs for storage paths and container options.
Step-by-step setup
These steps assume basic familiarity with SSH and the Raspberry Pi. I keep everything local — no cloud accounts required.
1. Flash Raspberry Pi OS Lite and initial setup
- Download Raspberry Pi Imager from raspberrypi.org and flash Raspberry Pi OS Lite to your microSD card.
- Before ejecting, enable SSH by creating an empty file named ssh in the boot partition. (This lets you SSH in on first boot.)
- Boot the Pi, SSH in (default user pi), and change the default password immediately.
- Update and upgrade: sudo apt update && sudo apt upgrade -y
- Optionally set a static IP via your router or /etc/dhcpcd.conf for easier access.
2. Reduce write wear and enable basic protections
Minimize writes to the microSD by moving logs to RAM and reducing swap usage.
- Install log2ram (or set up a tmpfs for /var/log): log2ram keeps logs in RAM and syncs periodically.
- Disable swap or set a small size: sudo dphys-swapfile swapoff; edit /etc/dphys-swapfile.
- Enable fstrim for periodic trimming if using external SSD later.
3. Install Docker and Docker Compose
Docker makes installing MotionEye or Frigate simple and repeatable.
- Install Docker: curl -sSL https://get.docker.com | sh
- Add your user to the docker group: sudo usermod -aG docker pi
- Install docker-compose plugin or use docker-compose v2 via apt or pip.
4. Deploy MotionEye in Docker
Create a docker-compose.yml in a folder like /home/pi/motioneye:
| Example service | motioneye: image: ccrisan/motioneye:master-amd64 (for x86) or the ARM tag for Pi (ccrisan/motioneye:master-armhf) ports: "8765:8765" volumes: - /etc/motioneye:/etc/motioneye - /var/lib/motioneye:/var/lib/motioneye restart: unless-stopped |
Adjust the image tag for ARM if on a Pi. After creating the compose file, run: docker compose up -d
5. Configure storage path for recordings
MotionEye will record to /var/lib/motioneye by default (as mounted above). Point that volume to your microSD storage by mounting a label or partition. Example fstab entry to mount a partition as /var/lib/motioneye:
| /dev/mmcblk0p1 | /var/lib/motioneye | ext4 | defaults,noatime | 0 2 |
Use a dedicated partition on the SD card for recordings to make file management predictable.
6. Add cameras and tune recording
- In MotionEye’s web UI (http://raspberrypi:8765), add your camera via RTSP, ONVIF, or HTTP stream.
- Set the capture mode to motion or detect and adjust the sensitivity to avoid constant writes from false positives.
- Limit clip length (e.g., 10–30 seconds) and enable post-processing cron jobs if you want daily aggregation.
- Set a retention policy in MotionEye (auto-delete after X days) to control storage use.
7. Automate retention and cleanup
Even with MotionEye’s auto-delete, I add a cron job to remove files older than N days to be sure:
Example cron (run daily):
| 0 3 * * * | find /var/lib/motioneye -type f -mtime +7 -delete |
This deletes clips older than 7 days. Adjust based on your SD capacity and needs.
8. Optional: export important clips off the Pi
For critical clips, consider transferring them to another device or cloud via rclone. Configure rclone for Google Drive, S3, or your NAS and use a rule to upload clips tagged “important” or matching specific detections.
Troubleshooting and practical tips
- If the Pi becomes unresponsive, check CPU and IO with htop and iotop — too many writes will spike IO wait times.
- If footage is missing, confirm camera RTSP stability (use VLC to test) and check MotionEye logs.
- Corrupted SD? Keep a backup image of the SD so you can restore quickly. I keep a weekly image using dd or Raspberry Pi Imager.
- Consider a small USB SSD (even a 256 GB model) if you need more reliability — you can still keep the OS on SD and mount the SSD for /var/lib/motioneye.
Security considerations
Local doesn’t mean automatically secure. Take these steps:
- Use strong, unique passwords for the MotionEye UI and SSH.
- Keep the Pi OS and Docker images updated (watch for security patches).
- Limit network exposure — don’t openly forward ports to the internet unless you use a VPN or reverse proxy with authentication.
- Enable HTTPS if you access the web UI remotely (letsencrypt via a reverse proxy on a different machine or using DuckDNS+nginx-proxy).
When to upgrade from SD-only to SSD or NAS
SD-only is perfectly fine for short retention and event-based storage. Consider upgrading if you need:
- Continuous 24/7 recording at high bitrates.
- Long retention (weeks to months).
- Higher reliability and faster random IO for many simultaneous streams.
A USB 3.0 SSD on a Pi 4 is an inexpensive, highly effective upgrade. It dramatically reduces drive wear concerns and increases storage capacity for a modest price.
Finally, if you’re running Home Assistant, both MotionEye and Frigate integrate well and can surface clips and detections directly in your dashboard. I run MotionEye for lighter setups and Frigate when I want object detection and more advanced automation. Either way, a Raspberry Pi plus a careful SD strategy gives you a reliable, private backup layer that keeps your camera footage accessible and under your control.