If you want a smart home camera setup that reliably records clear faces at night — without paying for a cloud subscription or hauling a bulky NVR into your living room — I’ve built and tested practical, compact options that do exactly that. I’ll walk you through what works, what to buy, and how to configure everything so you get usable night-face captures while keeping costs, footprint, and privacy in check.
What "reliable night faces" actually means
When I say “reliable night faces,” I mean images or clips where facial features are clear enough to identify a person at typical approach distances (1–6 metres / 3–20 ft) under low-light or no-light conditions. That requires a combination of good optics, the right sensor/IR setup, reasonable bitrate/settings, and local recording that doesn’t drop frames.
Minimal hardware checklist
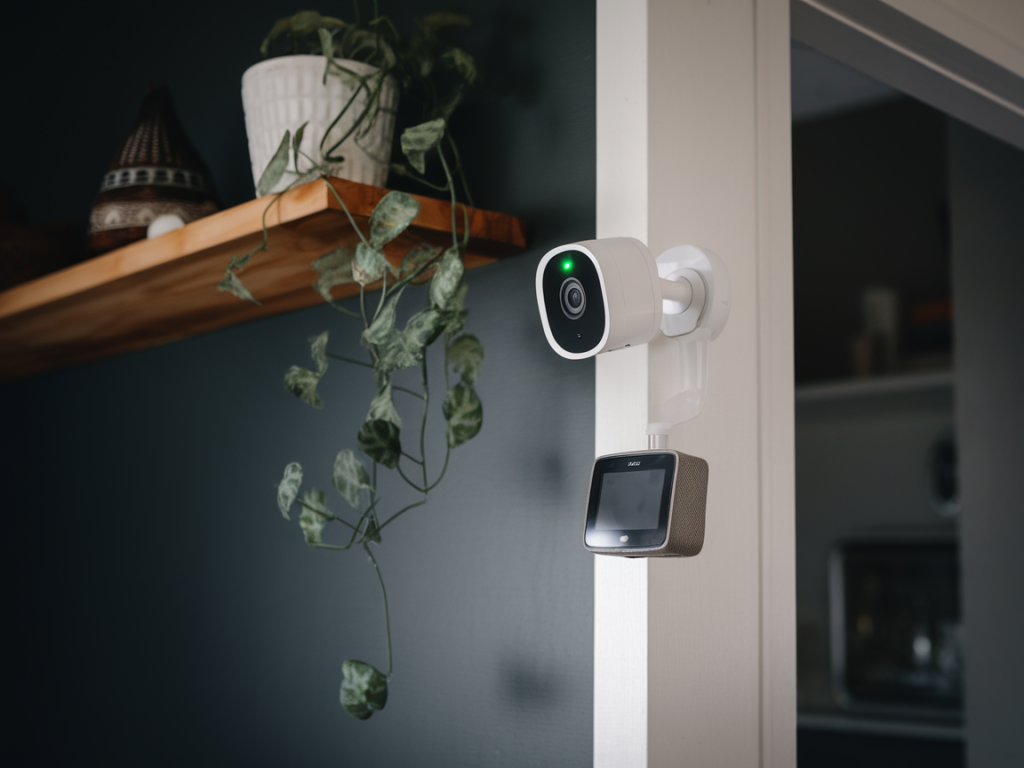
- Camera: one or more cameras with either starlight sensor (color low-light) or IR LEDs and reasonable resolution. I prefer 4MP or 2K cameras using H.265 for storage efficiency. Brands I’ve had success with: Reolink (e.g., RLC-520A), Amcrest, Ubiquiti UniFi (G3 Flex is marginal at night, but their newer models are better), and Eufy for local-only solutions.
- Local storage: a camera with a microSD slot (64–256GB) for circular local recording, or a compact NAS (Synology DS220j or similar), or a low-power NUC/Raspberry Pi running Frigate/Home Assistant if you want AI detection.
- Optional accelerator: Coral USB Edge TPU (for Frigate) if you want local person/face detection without a beefy PC.
- Network: Wi‑Fi for convenience, PoE switch for reliability and power-over-ethernet models (my preference), and a home router that supports VLANs for camera network isolation.
Why avoid cloud subscriptions and big NVRs
Cloud services are convenient but costly and leak metadata offsite. Big NVRs solve scale but are physically large and power-hungry. Instead, you can get the best of both worlds with local, edge recording and lightweight software (Frigate, Synology Surveillance Station, or even each camera’s microSD slot) that keeps footage private and under your control.
Camera selection: what to look for
- Low-light performance: look for "starlight", "low lux" specs or good sensor size. These produce less grainy color images under dim lighting.
- IR arrangement: some cameras use IR for B&W night vision — that’s effective, but faces are monochrome. Others offer color night vision (supplemental warm light or highly sensitive sensors) which is hugely helpful for recognition.
- Lens/FOV: a 70–90° FOV is a good tradeoff for face detail. Too wide and faces get small; too narrow and you lose coverage.
- Resolution & codec: 1080p+ with H.265 support saves storage while preserving detail.
- ONVIF/RTSP: essential if you want to plug the camera into local software like Frigate or Blue Iris.
Local recording options (compact, with pros/cons)
| microSD in camera | Lowest footprint. Circular recording. Vulnerable if thief takes camera. Limited retention and processing. |
| Synology NAS (Surveillance Station) | Easy UI, good retention, runs on low-power NAS. Paid camera license sometimes required. Good middle ground. |
| Frigate + Home Assistant | Local AI detection, Coral TPU compatible, efficient H.264/H.265 frame extraction. Runs on NUC/Raspberry Pi + Coral. Best for smart detections without cloud. |
| Blue Iris on small PC | Feature-rich but Windows-based and more power-hungry. Good for advanced motion & detection tuning. |
Practical setup I recommend (minimal, private, effective)
My go-to minimal setup that balances cost, performance and privacy:
- Buy a single PoE 2K camera with IR and good low-light rating (e.g., Reolink RLC-520A or an ONVIF H.265 camera with starlight sensor).
- Use a small, unmanaged PoE switch that mounts near your router. Power and network over one cable keeps things tidy.
- Record to a microSD for immediate circular recording and also stream RTSP to a small Synology NAS or a Raspberry Pi 4 running Frigate. Add a Coral USB if running Frigate for reliable person/face detection without heavy CPU load.
- Isolate your cameras on a VLAN and disable cloud uploads/remote access unless absolutely needed. Use a VPN for remote viewing.
Settings that make night faces readable
- Exposure & shutter: don’t let the camera use very long exposure; motion blur ruins faces. Lower exposure time if lighting allows, and increase ISO cautiously to avoid noise.
- IR bias & strength: test IR power — too weak and the face is dark; too strong and nearby faces blow out. Many cameras let you tune IR intensity.
- WDR (Wide Dynamic Range): enable for scenes with mixed light (porch lights + dark street).
- FPS & bitrate: 15–20 fps is usually enough. Set bitrate to keep faces sharp — very low bitrates blur facial detail. H.265 with a ~2–4 Mbps stream for 1080p is reasonable; bump for 2K.
- Motion zones: restrict motion detection to door approaches or walkways to reduce false clips and improve relevant recording.
Adding local face detection without heavy NVRs
Frigate is my preferred lightweight approach: it consumes little disk I/O since it extracts frames efficiently, supports Coral TPU for real-time detection, and integrates with Home Assistant for automations. With Coral, a Raspberry Pi 4 + Coral can handle a single camera well; for 2–4 cameras, consider an Intel NUC or a small server. Face recognition (not just person detection) can run locally with models like FaceNet or OpenCV-based pipelines, but remember this is heavier — Coral accelerates object detection, not complex face recognition, so plan resources accordingly.
Mounting and field-of-view tips
- Mount cameras at ~2.1–2.4 m (7–8 ft) angled slightly down — this captures faces naturally rather than from below.
- Aim to have faces fill ~200–400 px in width in your typical resolution; test by standing at common approach points and adjusting distance/FOV.
- Avoid direct bright lights pointing at the camera; they wash out features. If you need illumination, use diffused warm LEDs rather than unforgiving spotlights.
Privacy and network hygiene
- Keep cameras on a separate VLAN with no direct internet access. Access via VPN only.
- Change default passwords, disable UPnP and cloud-based remote features if you don’t need them.
- Encrypt backups of critical footage and store essential clips on an external drive off-site if they’re important.
I’ve used the setup above in multiple homes and rental properties — swapping cameras and tweaking IR and bitrate until faces are usable at night. Start with one camera, tune settings, then expand. If you want, tell me what camera(s) you already have and the room/porch layout and I’ll give specific placement and configuration settings that will get faces readable at night without any cloud subscription or bulky NVR.